A cloaking effect in TSL: morphing a PBR material into glass
· 3 min read · three.js, webgpu, tsl, react-three-fiber, shaders
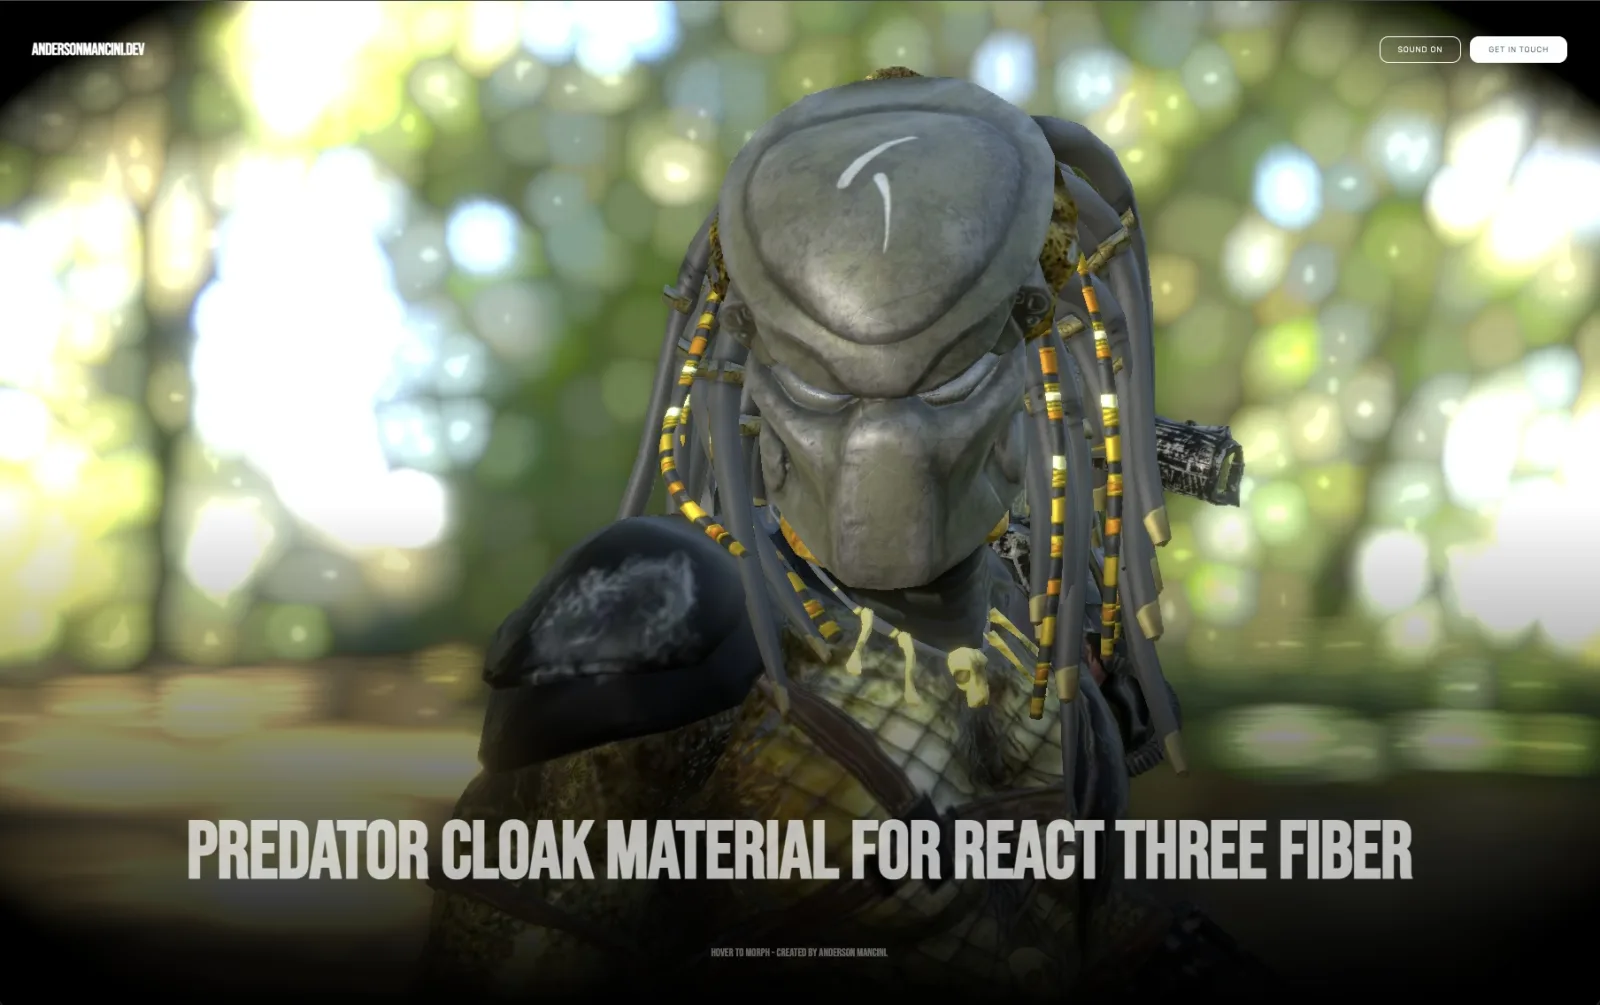
The cloaking device of the Predator is a good test for a material system: the surface has to stop being an armored, textured, opaque thing and become a see-through, refracting one, and it has to do it as an effect you can see happening, not as a fade.
I built it as a technical demo of custom physically-based transmission materials in React Three Fiber with WebGPU and TSL. Hover over the character and the skin dissolves into glass, spreading outward from a grid of cells. This post is about how that is put together.
Two materials, one pixel #
The usual way to do a transition is to switch between two materials or cross-fade opacity. This effect does neither. The character has one MeshPhysicalNodeMaterial per mesh (head, body and helmet), created from the original glTF material so the textures and normal map are kept, and every physical property is blended per pixel between a "before" and an "after":
transmissionNoderaises the transmission from opaque to glass,colorNodemixes the base texture with a cell color,roughnessNodeandmetalnessNodeanimate a metallic shimmer inside the revealed cells,emissiveNodeadds a Fresnel rim that appears as the effect activates.
Everything is driven by uniforms updated every frame. There is no geometry change and no texture swap, so the transition costs nothing on the CPU.
The mask decides where it is glass #
The interesting function is the mask: for each pixel, a number that says whether it shows the original surface or the cloak. The demo has two kinds, chosen at runtime.
A UV grid. The surface UVs are tiled in a grid of cells, and each cell opens as a diamond that grows with progress and with its row, so the dissolve crosses the model like a digital reveal.
Rings. Concentric rings spread from a 3D point, in object, world or view space:
const local = positionNode.sub(vec3(uCenterX, uCenterY, uCenterZ));
const scaled = vec3(local.x.mul(uAxisScaleX), local.y.mul(uAxisScaleY), local.z.mul(uAxisScaleZ));
const dist = length(scaled);
const phase = dist.mul(uRingDensity).sub(uTime.mul(uRingSpeed));
const rings = abs(fract(phase).sub(0.5)).mul(2.0);
const lines = float(1).sub(smoothstep(float(0), uRingWidth, rings));
const revealRadius = uSizeMax.mul(clamp(pow(uProgress.mul(1.3), float(1).div(uFadePower)), 0, 1));
const reveal = float(dist.lessThan(revealRadius));
return lines.mul(reveal);
The distance from the center, scaled by a speed over time, gives the position of each ring. A smoothstep turns that into thin lines, and reveal limits them to a radius that grows with the progress. Moving the center changes where the cloak spreads from, and the per-axis scale stretches the rings, so a ring can become an ellipse.
The mode is a single uniform. The three coordinate spaces and the UV mask are all built, and select picks one on the GPU, so changing it does not recompile anything.
One number for the whole animation #
An invisible hit-target mesh receives the pointer events, and sets a boolean when the pointer is over the character. The material reads it and eases one uProgress uniform from 0 to 1 with maath's easing.damp. That single value drives the mask, the transmission, the shimmer and the rim together, so the layers always stay in step. The mask also has its own clock, uTime, so the rings keep moving while the reveal progresses.
The knobs #
A live panel in the demo exposes the parameters, split in three groups:
- Glass: transmission, IOR, thickness, dispersion, clearcoat, iridescence, sheen and anisotropy,
- Mask: projection mode, grid density, ring density, width and speed, the center and the axis scale, shimmer,
- Trigger: a switch that holds the cloak on, which is handy for recording.
The scene is rendered with WebGPURenderer, with a bloom and a vignette built as a TSL RenderPipeline instead of an EffectComposer. The demo needs a browser with WebGPU.
Credits #
The 3D model is Predator S by super7 on Sketchfab, under the CC BY 4.0 license. The material is my own, and it is a glass material that imitates the cloaking effect of the character.
Try it #
The demo is at predator-material.vercel.app, and the code is public in the repository. The project page here has the video.
Related projects
- Predator Material — Free Custom Material for R3F